Wednesday, July 25, 2012

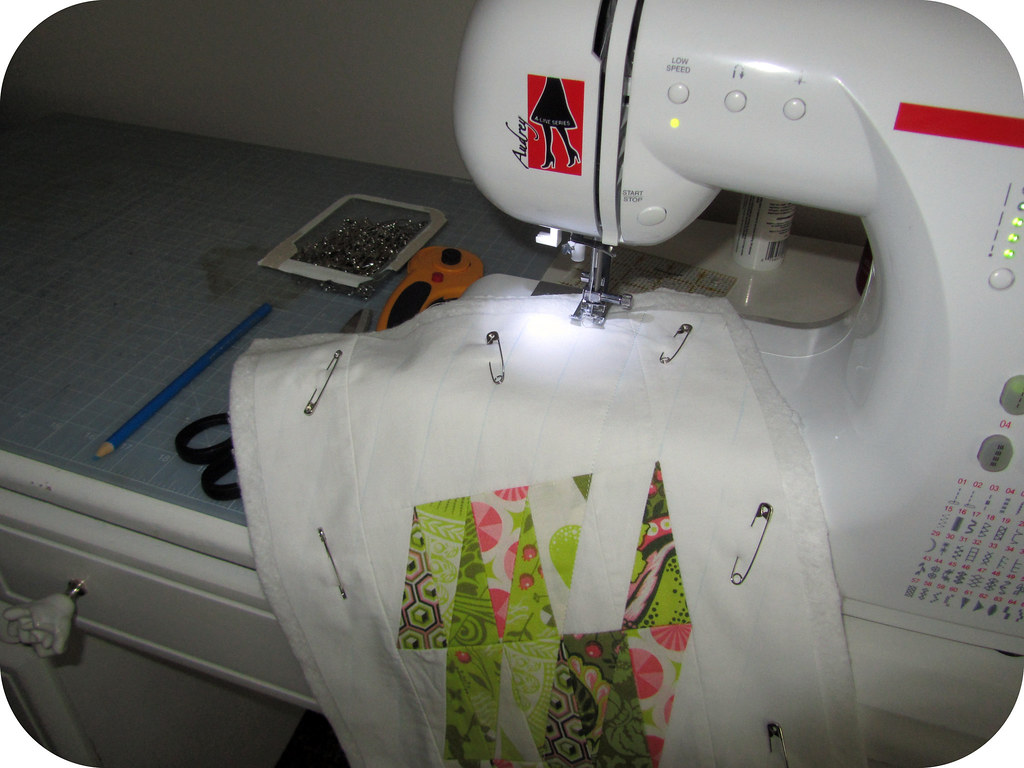
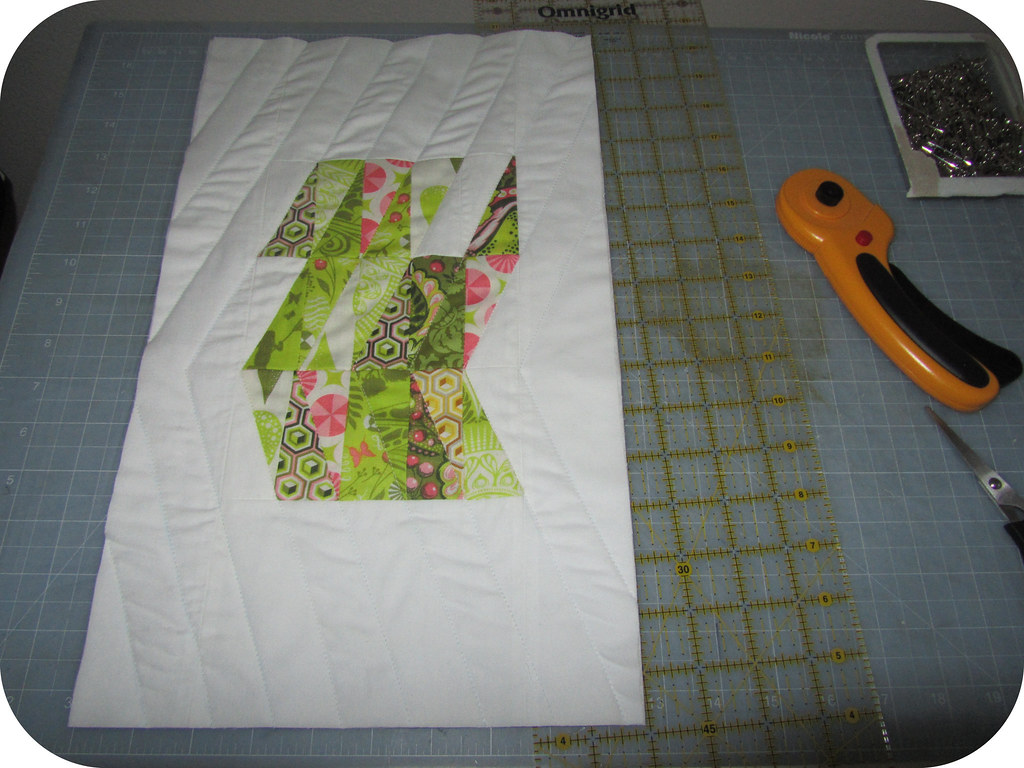
My first mini (in pictures)


Measures 9.5 x 16 inches. I plan to wash it this weekend since the markings I made to guide my quilting did not come off with water as the pencil's package suggested. Also, I should add a tag.

Thursday, July 12, 2012

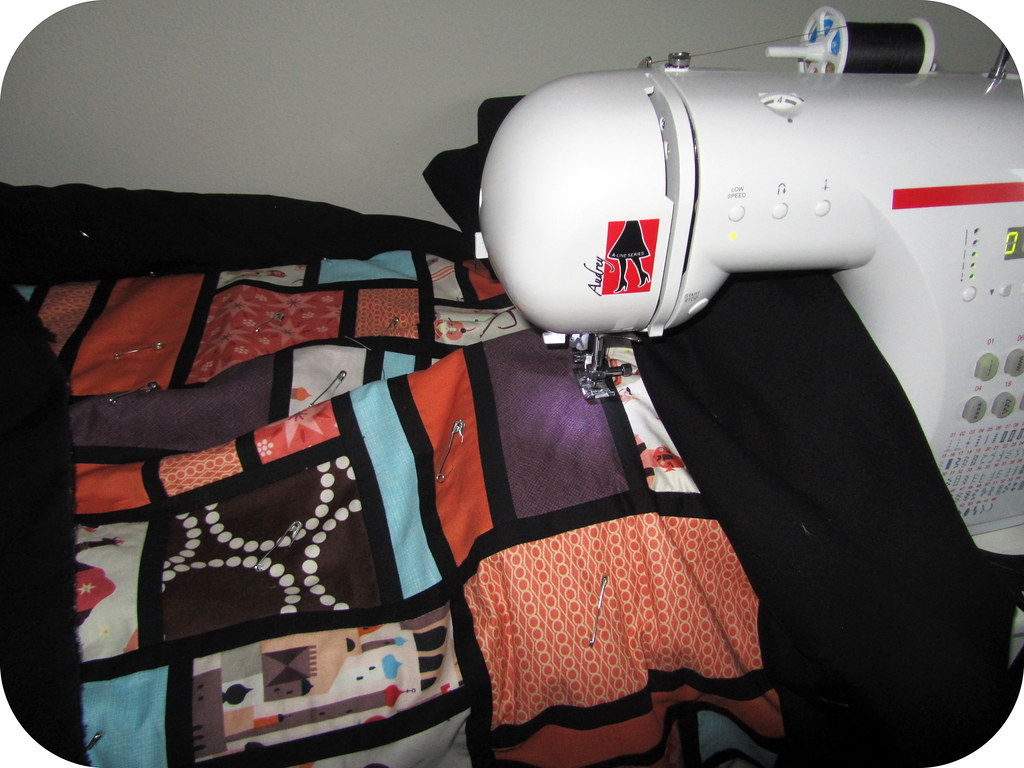
Quilting with Audrey

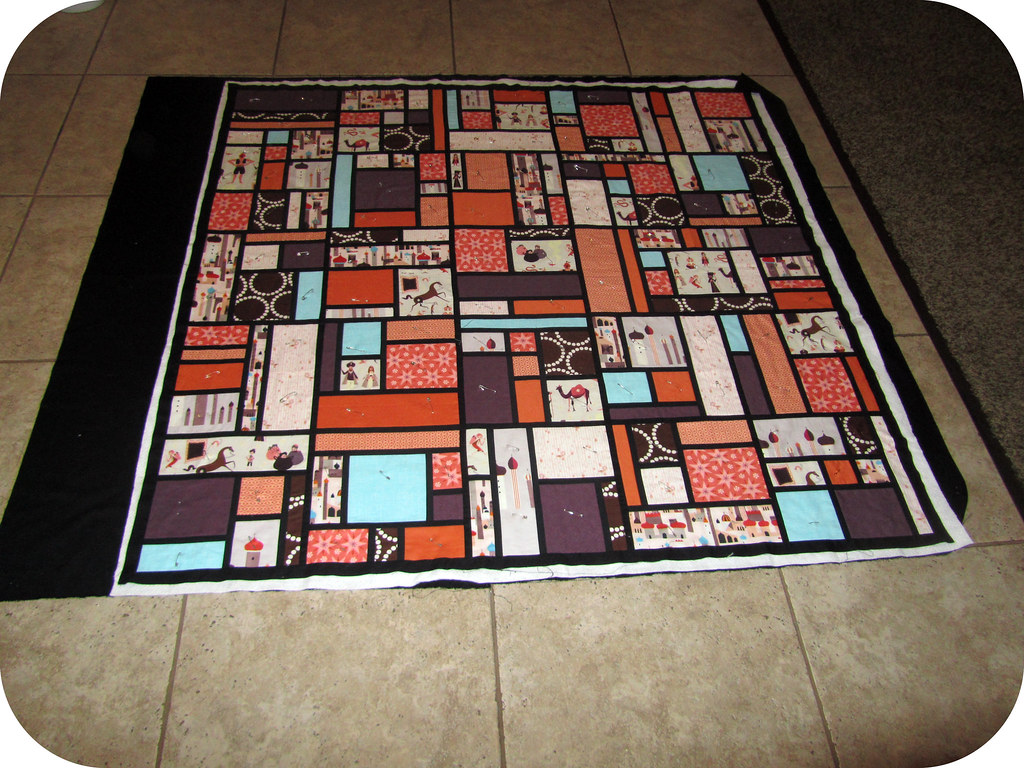
On Sunday evening I basted my stained quilt. First, I used up the 50 special quilters safety pins I bought a while back.

Not enough...

I got out my little box of variously sized regular safety pins. (Gift from my mom at some point during college; they used to be part of her sewing supply stash.)

Still not quite enough...

I pondered going over to Joann's. Not worth the drive - time or gas... I pondered going over to Target - closerd, but more effort to find exactly where safety pins are stocked. Then it dawned on me, I'd used several safety pins to jimmy up the black out lining for curtains at our old apartment. Since we've yet to put the curtains up again here, I stole the 24 safety pins from that "project."

Victory! It was just enough!

*Side note: I actually thought it was easier to work with the straight safety pins, so I'll be stocking up on those.

In the middle of basting


As you can see, I used a larger piece of batting than necessary. It was on hand. I really didn't want to spend more money just now. Besides, with smaller pieces of batting to use up, maybe I'll make some mini quilts or something. (Does anyone know whether it's advisable to use batting in coasters? This is Warm and White.)

There's about an inch and a half of batting beyond the quilt top on all sides.


I also cut it closer to the edge of the quilt top than is recommended I think. I'm cheap trying to be thrifty by keeping the left over bits as large as possible so the can be more readily used later.


On Tuesday evening, I began stitching in the ditch. I meant to post about my progress that night as well, but my computer was playing dead. It made an awful beeping noise when I turned it on, then had to go through a repair scan since Windows failed to start for some reason.

Long story short: it scared me, but seems to be back to normal now.

Tuesday, June 19, 2012

Simple

So, I've decided to go with simple.
(You're probably surprised, given that I've made this project so complicated up to this point.)

The back of my stained quilt will be all black. This will make my desired quilting pattern so much easier. I'm going to stitch in the ditch around each of the puzzle pieces, so to speak.

Previously, I mulled over making more blocks and piecing them into the back; however, for this option:
1. I would have wanted the back blocks to be mirror images of their counterparts on the front (as far as shapes, not exact fabrics).
2. I then would have tried to line them up exactly so as to have my quilting be stitch in the ditch around the puzzle pieces on both sides of the quilt (where applicable).


I am pretty pleased with this little detail though:
Mitered corners in the border!

Saturday, June 9, 2012

How much Kona Black?

I'm such a perfectionist.

Despite numerous assurances from others that my quilt was coming along fine and I should just get on with it already, I spent several hours pondering over and adjusting it.

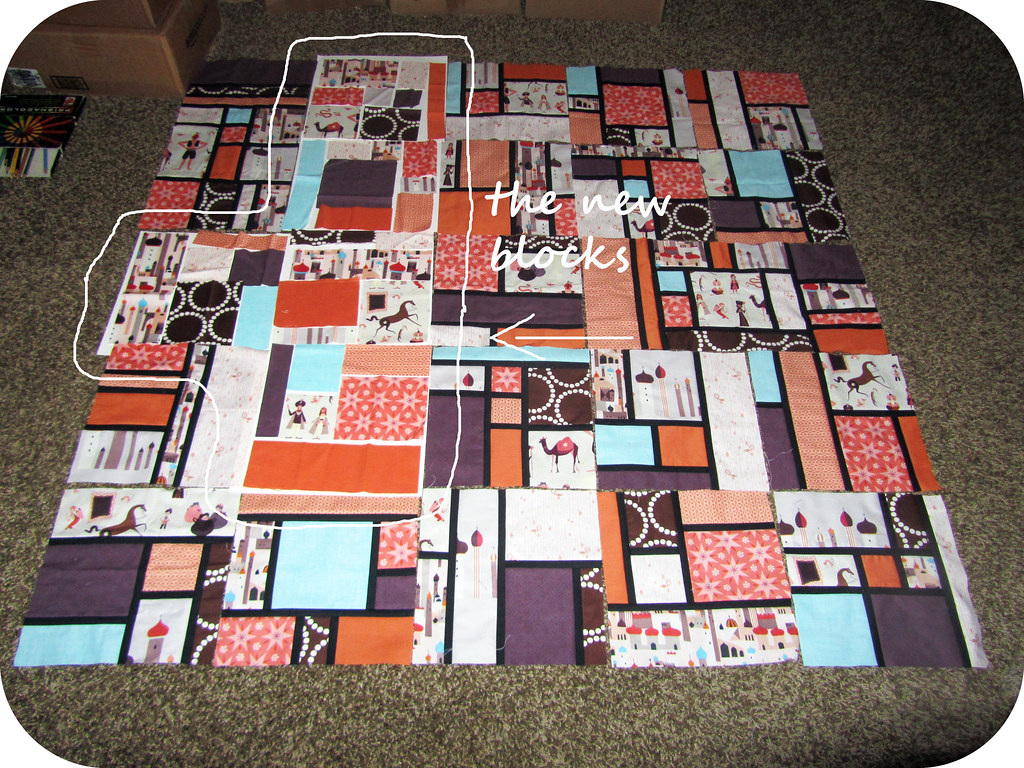
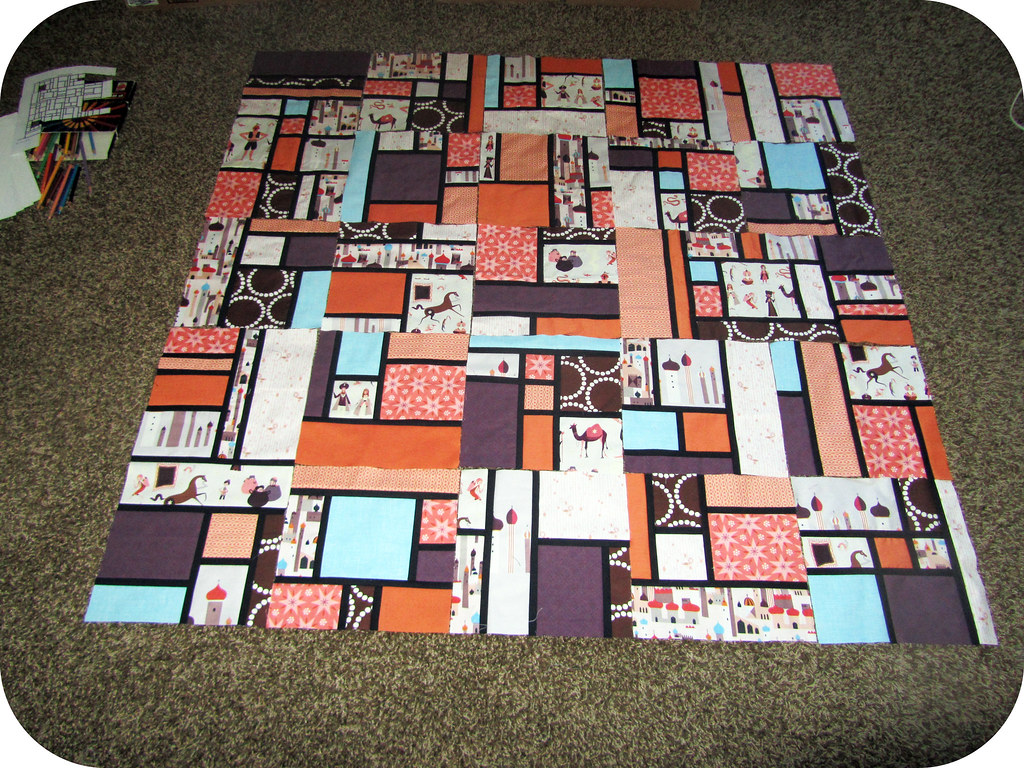
My new map:


I made several attempts to rearrange my original 20 blocks before I came upon this configuration. First, I moved just the blocks that seemed to be the culprits. That merely led to more troubles - I basically would have ended up putting a blank spot every other block.
Second, I tried gathering all the blocks with characters and laying them out first so I could disperse those blocks that all featured the horse, or camel, or people in jars, or... you get the idea. Well, this worked until I tried to fill in spaces left empty with the remaining blocks. Inevitably a brown pearl bracelet wound up next to another brown pearl bracelet.
I put everything back according to my 4x5 block map. I thought about just sewing things together that way and trying to just be happy with it.

THEN, it occured to me that I could just shift 1 row over. I tried it. Then I shifted 1 block back to it's original spot and shifted half the new column down. There. That spaced out characters and candles.

I had just enough pre-cut black sashing to complete my 5 new blocks. (Plus stitch 2 of them together - lower left corner.)


Now I just need to figure out how much more Kona Black I will need.

And also, decide whether to make still more blocks for a pieced back or just use a great swath of black. I discovered another small pile of matching scraps in a box I was unpacking in search of interfacing, so additional coordinating blocks are a possibility without hunting down more Peeps.

Opinions?

Monday, May 28, 2012

Finish?


Yay! I've sewn all my Stained blocks!

There's just a few little things bugging me now that I've laid them out...
1. the blocks that feature the 3 characters in jars/ baskets are next to each other (middle row, left)
2. there are 2 blocks with the candle print in a large vertical piece in the same row (4th from top)
3. also, 2 blocks that show the magic carpet and horse are next to each other (bottom right corner)
4. maybe it should be bigger? 5 more blocks would make it square...

And a larger question: what should I do for the back??? I could play it safe and just use black. I could try to make it more interesting by making some extra blocks like the front - maybe enough for 1 column? It would hide the need for a pieced back; however that option would also spark my perfectionist tendencies. I was thinking that it would be cool to have the patterns be mirror images of the front column, and then quilting in the sashing would line up on both sides! Is that a good idea? (I mean quilting in the sashing?) Another idea I have is to buy invisible thread and then quilt around each shape somehow...

Any thoughts?

In other news, I'm really excited for the Madison Modern Quilt Guild meeting this Wednesday night!