Showing posts with label home decor. Show all posts

Thursday, February 23, 2012

Thrifted Thursday (my sporadic feature!)

Err... Wednesday? I found these last night.

I might just eat my strawberries straight from the basket...


I'll need to try this recipe...


These were only $3.99 each! And they're in better shape than the one I already had. When we have a house of our own I think I'll display them somehow in the kitchen.

This recipe is pretty good.


I bought this Apple Pie plate last Sept ($6) since it matched the one my mom has. It's not perfect, but I still like it. And I really like having the set! I'll still be on the lookout for the Cherry Pie and Pecan Pie plates. I've also seen a Cheese Cake plate in the same style, but that one perplexes me. Who makes cheese cake in a pie plate?

Thursday, January 12, 2012

All grown up!

I haven't related this story to you yet, though I have hinted at it.

Upon their arrival I gave my sister-in-law and her husband a little tour of our apartment. He had never seen it before; she had.

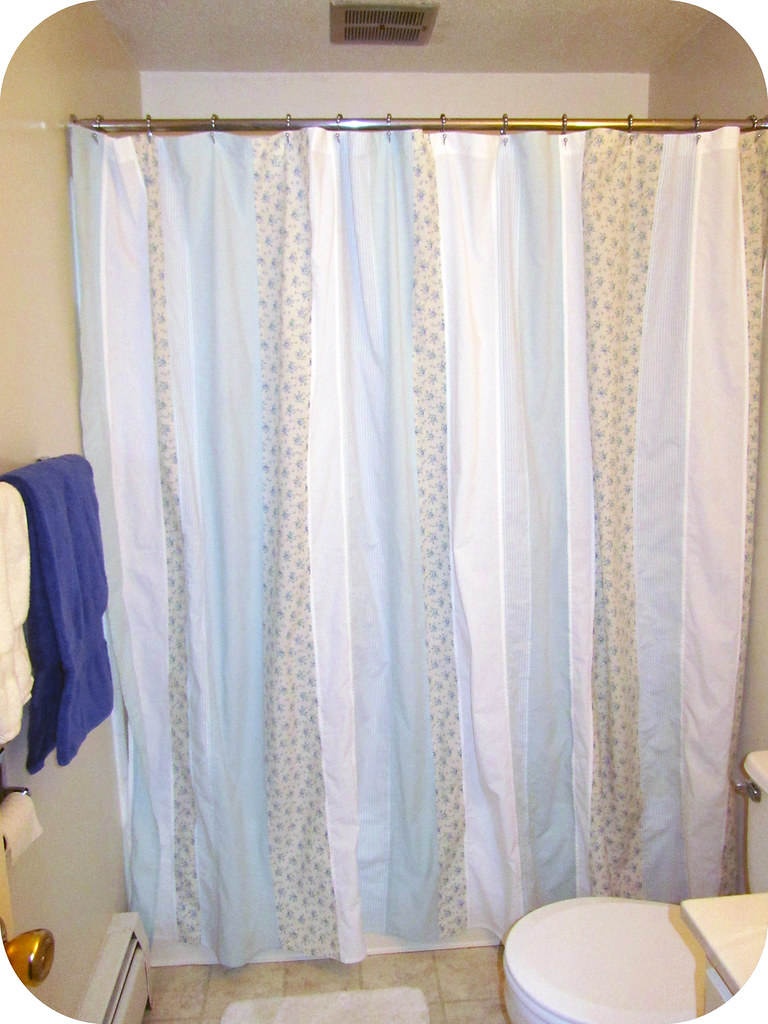
"It looks so much more grown up now!" She said when we got to the bathroom (a mere 15 ft from the front door).

(I wish the walls weren't painted dingy yellow...)


That is not actually what she saw, but it is what she was supposed to see! Instead, she saw the liner minus my old rubber ducky plastic shower curtain that I had kept from my college apartment... Clear was a step up, I guess.

Confession: I still kind of liked the duckies even if they were a bit juvenile. I've actually stuffed the old hooks in a plastic bag with the thought that I could remove the rusty metal from the ducks and perhaps turn them into magnets... Not sure I will ever follow through, but I hated to throw them out. And I am using the matching washcloths to this day.

So, that is the tale of my new grown up bathroom. I'm really quite pleased with the results. I tore strips from sheets, then laid them out in a pseudo-random order (pseudo because they are not particularly random, but they are also without a repeating pattern). I sewed all the strips together and then decided that while time consuming, I would finish the seams that would be seen from in the shower. It surprised me how long the ironing took to achieve this... but nevermind. It is done now.

And it is my first finish (of hopefully 2 this quarter) for the FAL!

As explained in my FAL post, in my haste to make progress, I hemed it too short. I thought about trying to take a short cut and not rip out both top and bottom hems, but it didn't take as long as I'd expected. (I did take out both.)


Step 2


I wound up with a 3/8" bottom hem and a 1 3/4" top hem. Originally, at the top I had 3 layers of fabric to be sure the buttonholes would be secure, but the edit down to just two seems to have worked perfectly well.

Since my shower curtain is a bit wider than a standard one so I couldn't transfer the hole placement from the liner; instead I did some quick calculations and marked each with a pin.

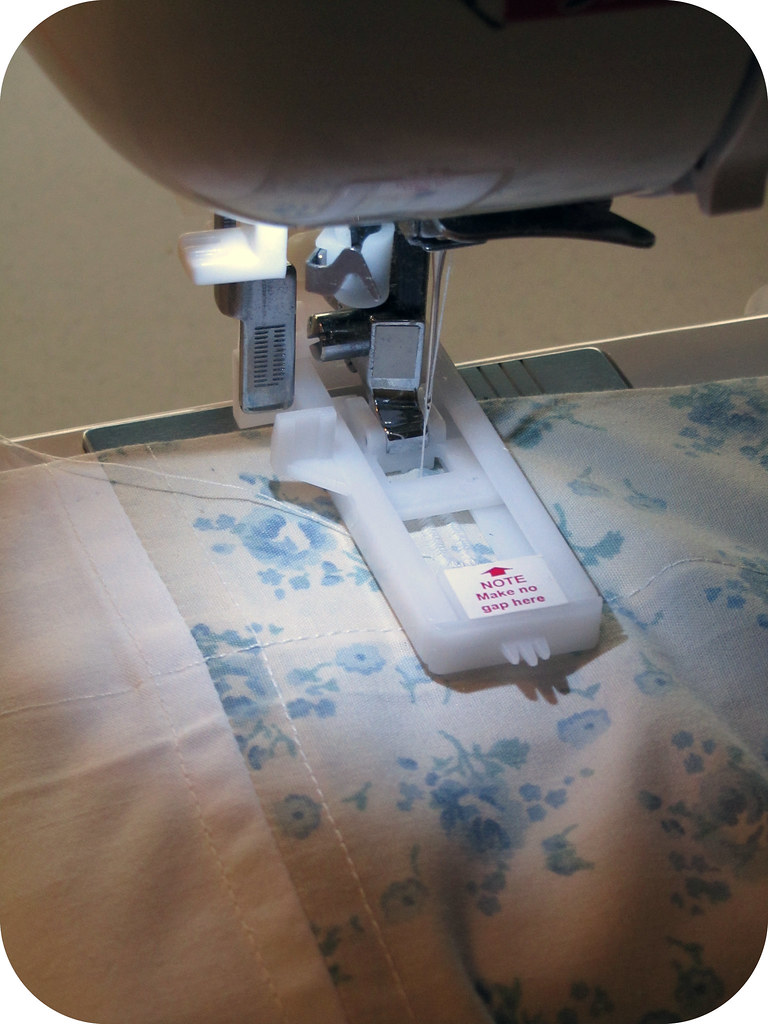
Step 3


Then I tested out the buttonhole feature on my machine for the first time. It worked like a charm! I used small pencil marks to keep my starting points evenly distanced from the hemline which were easily covered up by the stitches.

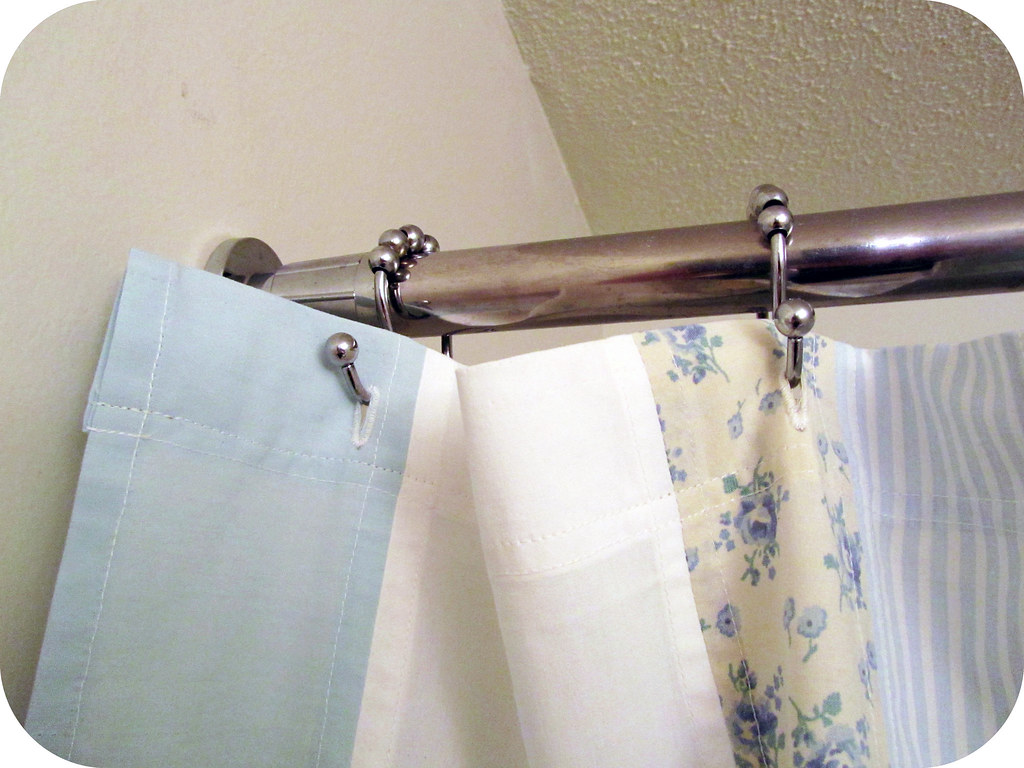
Step 4


And finally I cut the buttonholes and hung it up! Can you see the stitch detailing?

Thursday, January 5, 2012

Better late than never

I'm joining the Finish-A-Long hosted by Rhonda over at Quilter in the Gap!


Here are the things I am carrying over from 2011. Of course I meant to finish them sooner, but better late than never.

1. My grown up shower curtain. (Replacing the rubber ducky one I had in college, mostly because the grommets got rusty.)

I worked a bit on it last night, but when I held it up to the rod I decided I actually would prefer it longer... So what I need to do is pick out what was to be the top hem and redo it much skinnier. It will then become the bottom hem to limit my time with the seamripper. Finally, I'll get to play with the buttonhole function on my sewing machine. I'm actually quite excited about this since I've never used it before. And once I have 12 buttonholes along the top it will be ready to hang.

2. The Purple Haze Quilt.


At this point, I have 70 blocks of 4 charm squares each, plus 10 pairs of charms that make up the odd number of columns in my layout. Since one of my fabrics is flannel, I've been fighting against it stretching as I go and need to trim all 70 blocks back into squares before proceeding to sew them into rows.

I have the batting and backing fabric on hand, but I'm still debating how to quilt it. It's probably easiest to do straight lines since my machine is fairly compact and this will be a twin size quilt. After I figure that out, I'll piece together binding from my scraps and a bit of extra gray I bought. Ignoring time efficiency, I'll probably opt to sew the binding to the back of the quilt by hand.