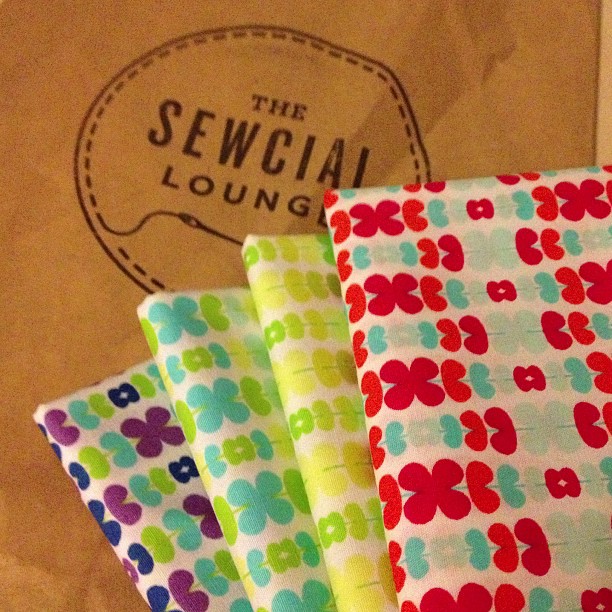
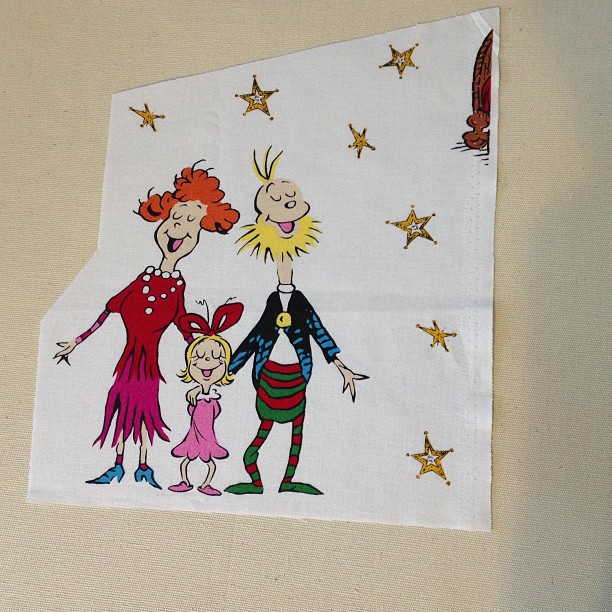
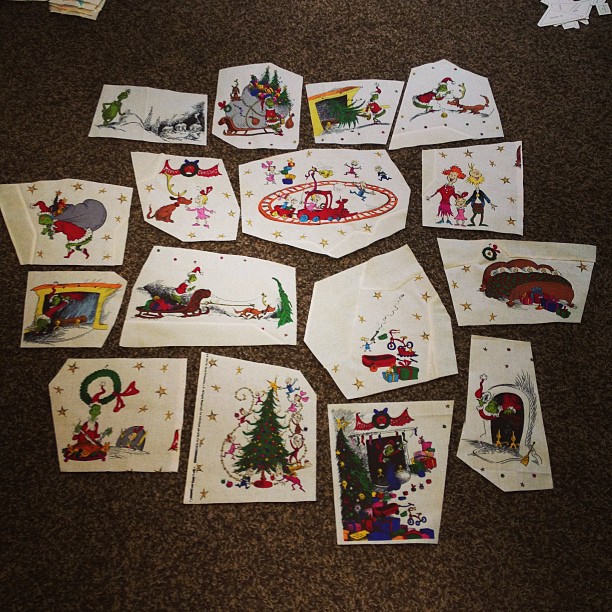
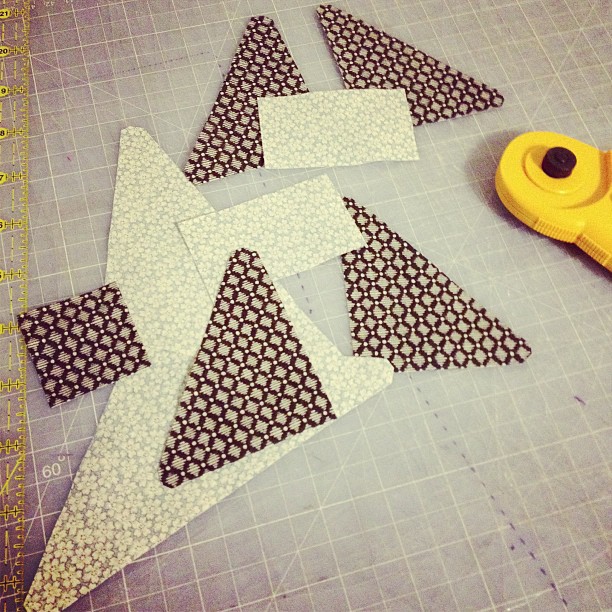
I've finished sewing all the awkward angles I produced by fussy cutting Grinch scenes! It's also caused me to rethink how I'll assemble the quilt top, but more on that later.
Anyway, here is my step by step guide to dealing with inside corners:
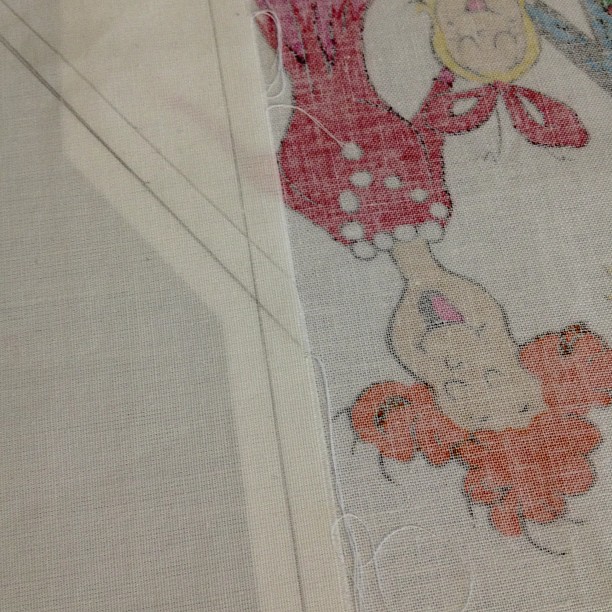
After you've fussy cut an odd shape, identify the inside corner or corners. These are like Y seams without the tail, hence my refering to them as V seams.
On the wrong side of the fabric, mark 1/4" in from each edge of your V.
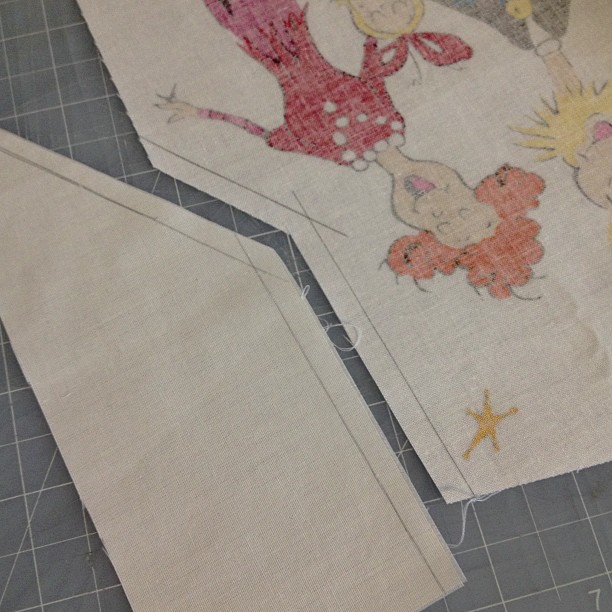
Choose a piece of fabric to fill in the V. It should be large enough to completely cover up the V if you laid the two pieces of fabric on top of each other. Mark 1/4" in from one edge of your infill fabric.
Lay your infill fabric over your fussy cut so that it overlaps by 1/2" along one side of the V.
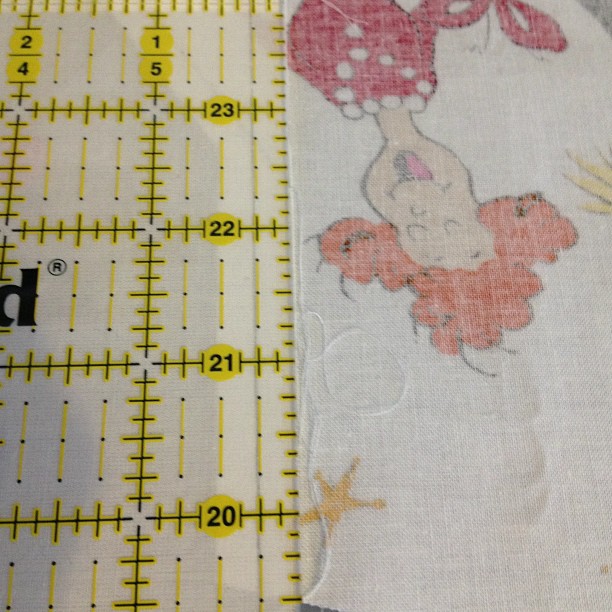
Make sure the end of your infill fabric is covering up the other edge of the V. Turn your ruler and mark 1/2" from the edge of the underlying fussy cut.
Adjust your ruler and mark 1/4" from the edge of the underlying fabric.
Then, move your fussy cut out from under your infill fabric. Line up your ruler again on the 1/2" mark you made and trim with your rotary cutter.
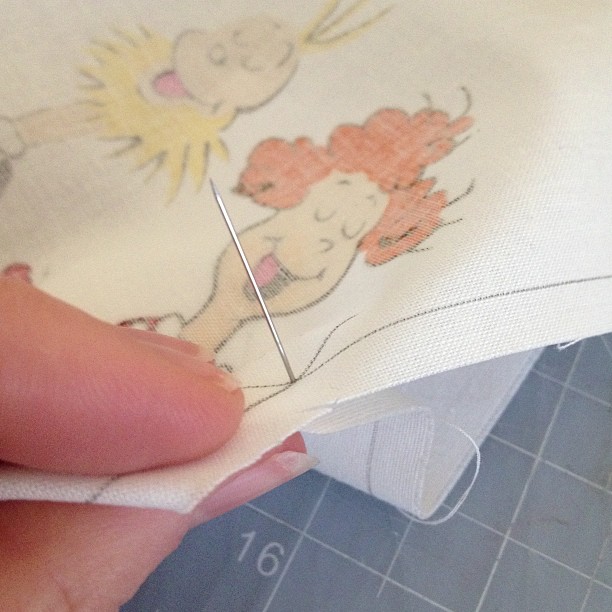
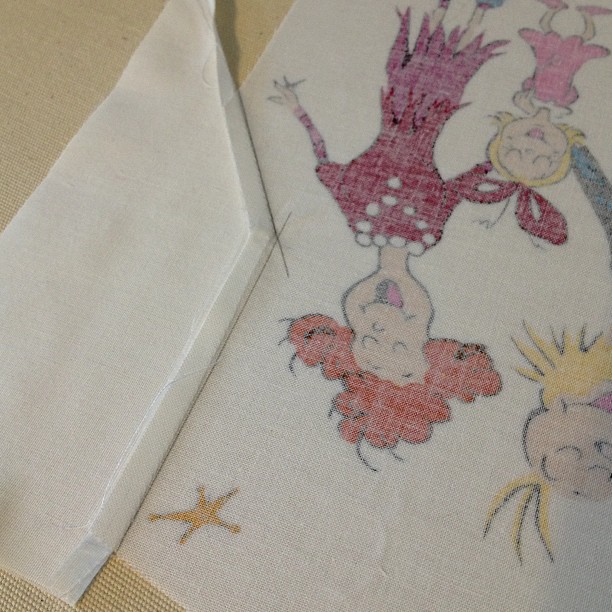
Stick a pin through your infill fabric where the two 1/4" marks cross.
With fabrics right sides together, stick the pin through the intersection of 1/4" marks on your fussy cut fabric.
Push the pin in so that the head is right against your infill fabric. This helps to keep the intersection accurate. Align the edges of your infill and fussy cut fabric.
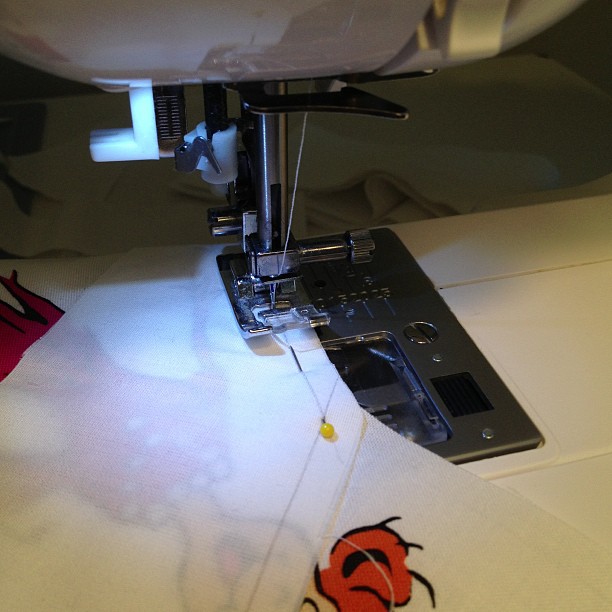
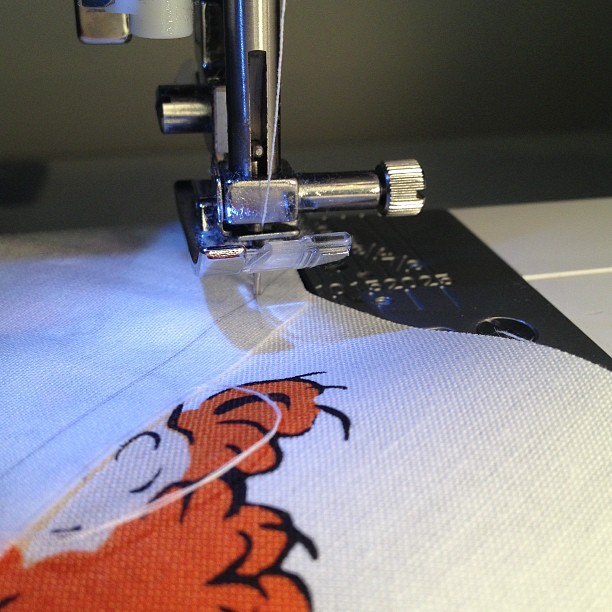
Now you're ready to sew the first edge of the V! Use your 1/4" mark as a guide and stop right where it intersects the other 1/4" mark.
Raise your presser foot and pivot your fabric. It helps to lift the infill fabric away from the fussy cut fabric as you gently tug the second edges of the V together. I also use a pin to adjust the bit of corner left in the seam allowance when it bunches up too much (it will a little bit and that's ok).
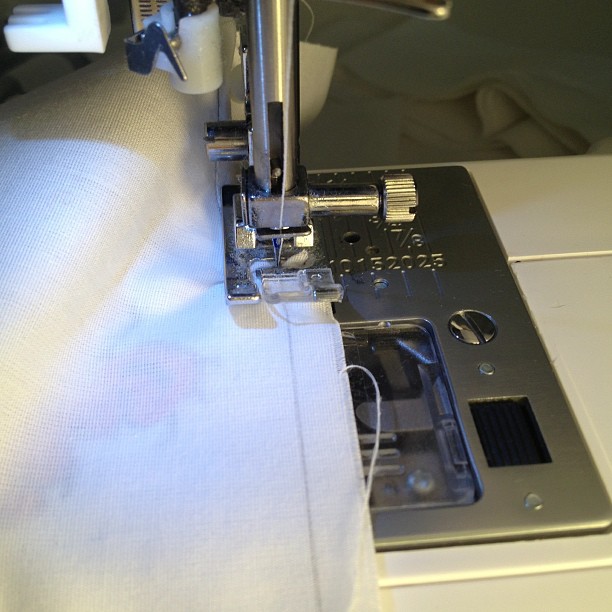
Once your edges are lined up, put your presser foot back down and finish sewing the second edge of the V. Again, use the 1/4" mark as a guide.
When you've finished sewing, you might see a little pucker in the seam allowance at the corner, but don't worry.
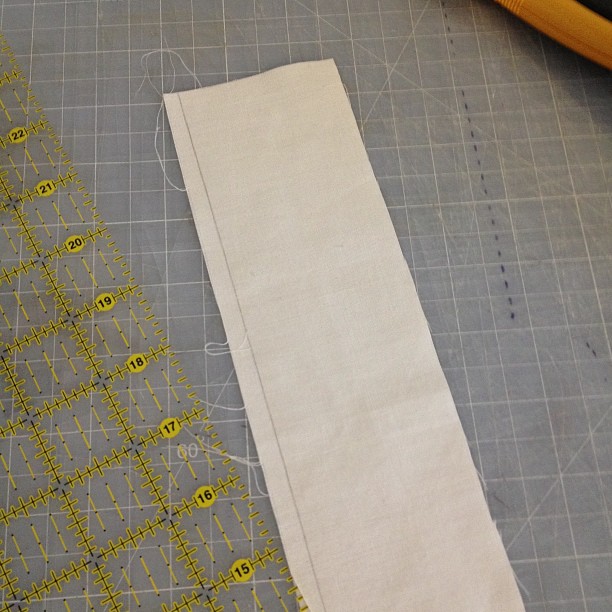
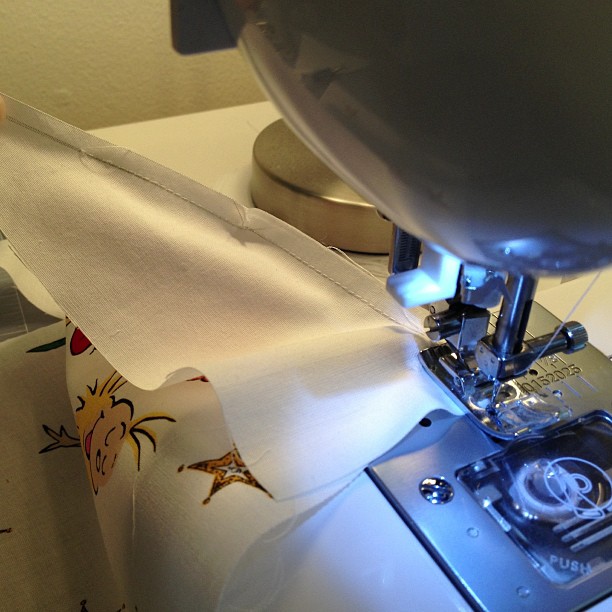
Press the seam away from your fussy cut.
See? You can hardly notice the little bit of pucker in the seam allowance.
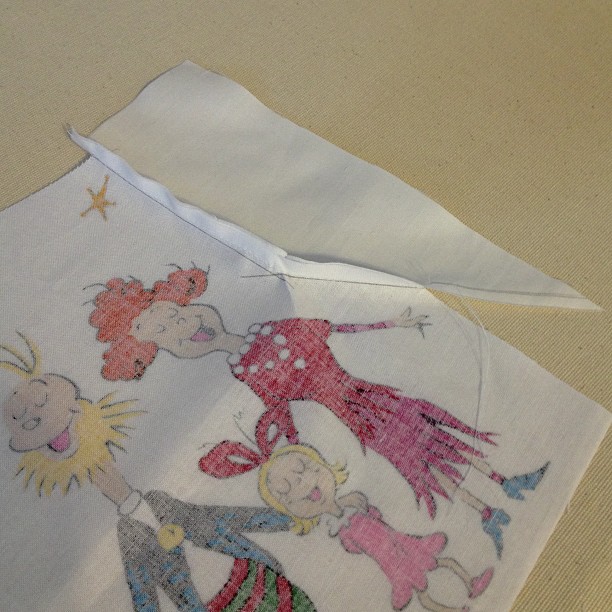
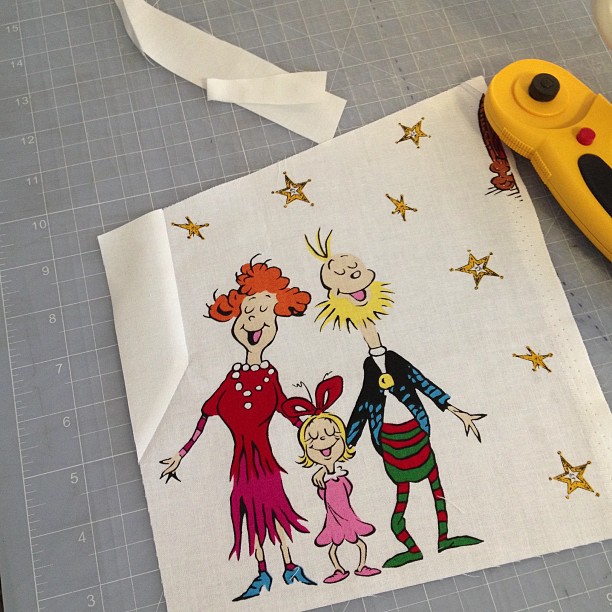
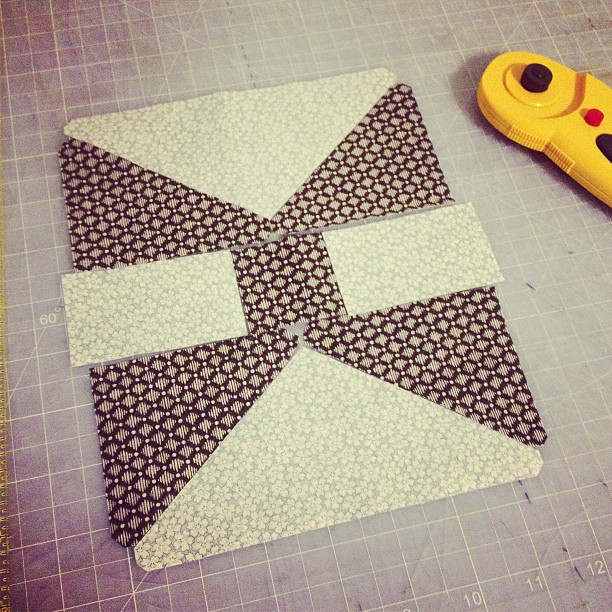
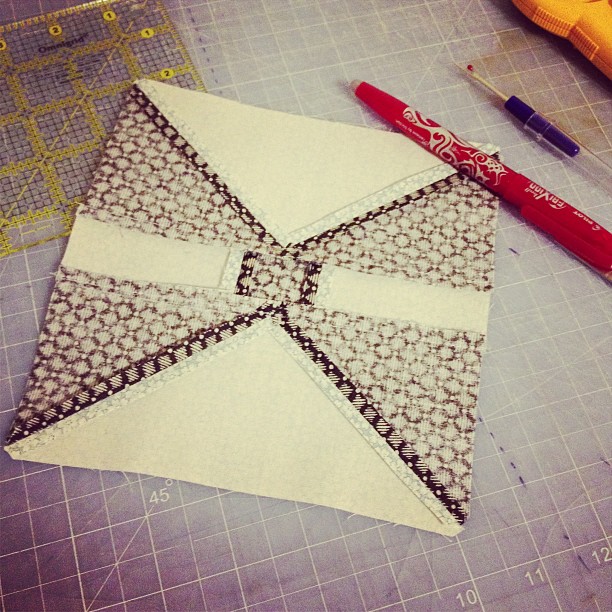
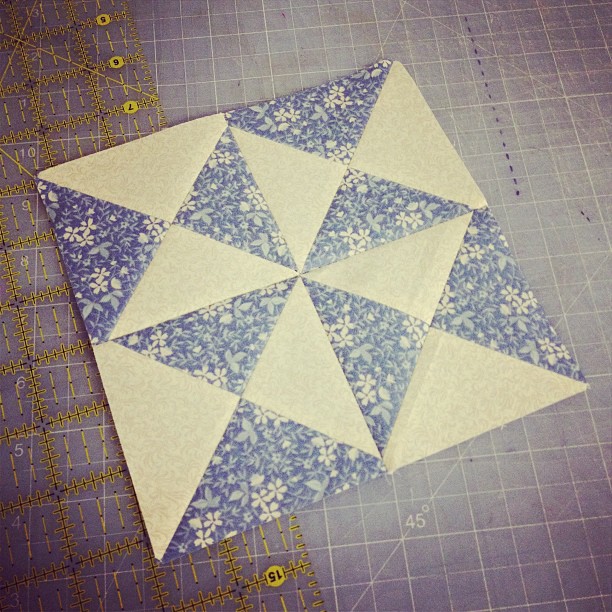
Finally, trim your block. If your fussy cut had more than one inside corner, repeat the above steps as necessary.
Once your fussy cut has only outside corners, you can add strips with a simple straight seam to bring it up to the size you desire.
This is the step I'll be working on shortly with these:
As I mentioned at the beginning, now that I look at the fussy cuts I have for the Grinch quilt, I'm thinking of building my quilt top without square blocks. I'll just add strips and scraps here and there and make things fit together eventually - sort of like a puzzle. I'm still considering how to use the words of the story as well. One idea would be to just have all the words on the back and then the images scattered on the front. I was thinking I could quilt the two together with random lines or by following some of the angled seams from my puzzle piecing... but, I'm still mulling it over.
If you try my method, let me know how it goes! I'd be happy to help answer any questions that come up.